
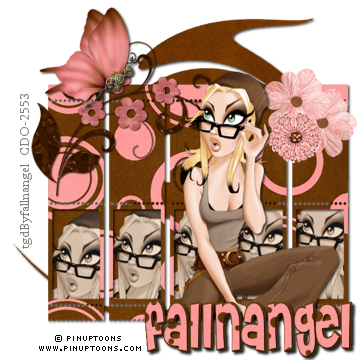
I am using the beautiful artwork of Rion Vernon (PinUp Toons). You can purchase his artwork and a license to use it HERE at CDO
The font I used in Cheri
The kit I used is a PTU kit from BabyCakes Scraps called Lottie Dottie, it can be purchased HERE at Lollipops 'N Gumdrops
Pieces from the kit used in this tutorial are
frame_two
swirl_three
Butterfly
floral_doodle
paper_flower
ruffled_flower
paper_twelve
paper_thirteen
You must have a working knowledge of PSP to use this tutorial. This tutorial was written using PSPXI.
Open a new 600x600 image and flood fill white.
Open frame_two and resize to your liking
Open your tube. Duplicate your tube Layer 5 times. Make your original tube Layer invisible (you can make a Layer invisible by clicking on the eye of the layer in the layers pallet) Move frame_two Layer above tube Layers 1-5. Arrange the tube Layers in the openings of the frame. Erase any parts of the tubes not in the frame opening. Merge tube Layers 1-5 together. Place a drop shadow of 2 on the merged tube layer. Go to Effects/Photo Effects/Sepia Toning.
Open paper_thirteen. Place paper_thirteen Layer behind merged tube Layer. Erase all parts of paper_13 not in the frame openings.
Select frame_two Layer. Add a drop shadow of 2. Merge frame_two Layer, merged tube Layer, and paper_thirteen Layer together.
Make your original tube Layer visible. (click on the eye again to remove the "x" and make the layer visible) Add a drop shadow of 3 to your tube Layer.
Open swirl_three. Place behind merged frame_two layer.
Open floral_doodle and resize to your liking. Add a drop shadow of 2 to the layer.
Open Butterfly and resize to your liking. Add a drop shadow of 2 to the layer. Place Butterfly Layer in the line of site of your tube
Open paper_flower and resize to your liking. Duplicate this layer. Arrange to your liking
Open ruffled_flower and resize to your liking.
For the text
Open paper_twelve in as a new image.
Switch back to your tag. In your materials pallet in the top color square click on the circle on the far right so you are only using the bottom color square. On the bottom color square click on the circle on the far left and go down to pattern, select patter. Click on the center of the bottom color square to pick a different pattern. From the available patterns choose paper_twelve.
Write your text
Go to Layers/Convert to Raster Layer
Using your magic wand click on any of the blank space surrounding your text. Go to Selections/Invert. Selections/Modify/ Expand 3. Add a new layer. Flood fill the inside of the selected area brown on the new Layer. Go to Selections/Select None. Move your New Layer to behind your text Layer. Add a drop shadow of 2 to both Layers.
Resize the tag to your liking.
Add your copyright information before saving
No comments:
Post a Comment